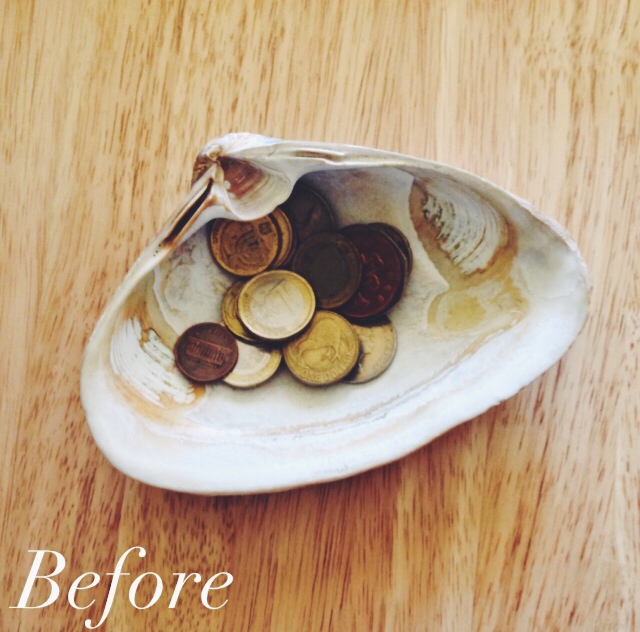
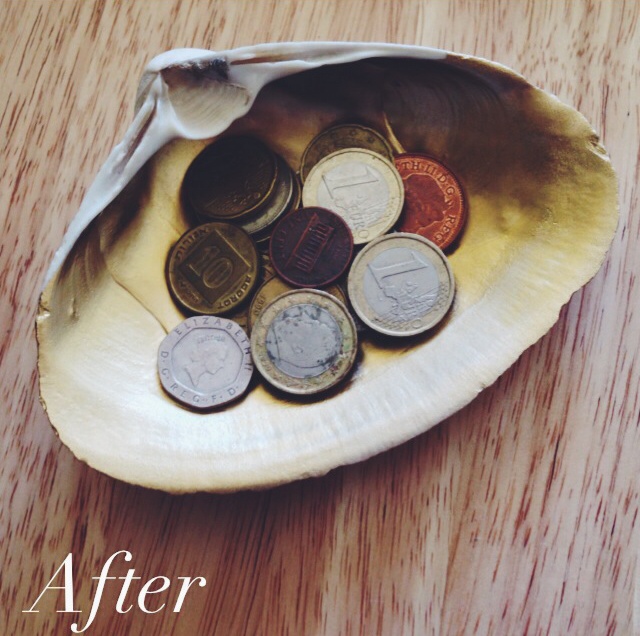
I’m one of those people who believes that, when decorating, a room is never fully done. There are always changes that can be made, things that can be moved around. I was in one of these moods when I took stock of a few items I have around the house and decided that they would look better if they were gold. After reading several reviews online, I bought Design Master Colortool Spray in Antique Gold and Brilliant Gold at around $7 a pop at Michael’s. I decided that I didn’t want this bevy of objects to all be an identical shade of gold, so I got two to diversify. I’ve had shells for forever, ones that I’ve collected on the beach from many a spring breaks spent at my grandparents house in the keys. I use them to display odds and ends; foreign currency, menorah coins, stamped pennies, etc. This DIY updated these beautiful shells in less than 20 minutes and for less than $20.
Gilded Sea Shells:
1. I wanted just the inside of the shell to be gold, so I used painters tape and taped the entire outer, rough side. I angled the tape around the joint of the shell, just slightly so I’d have a nice smooth line. If painting the entire shell, skip this step.
2. Grab a piece of cardboard and head outside! Spray, quick even strokes making sure that your getting all the nooks and crannies. I ended up doing only one coat of paint, but you could do a few if you wanted/needed them.
3. Let dry!
The Design Master paint dried quite fast! I had my treasures back on display in less than an hour!

